标签
寻找感兴趣的领域
游记
4
Live
4
日本
4
css
1
美化
2
二分
1
node
1
dplayer
1
zerotier
1
内网穿透
1
爬虫
2
Python
5
22/7
2
22/7 WiKi
2
生活
1
Kruskal
1
最小生成树
1
算法
1
CSS
1
JS
1
魔改
1
PyTorch
1
ffmpeg
1
视频处理
1
AI
1
人脸检测
1
PHP
1
API
1
数据可视化
1
贪心
1
2018
1
篇
2019
1
篇
2020
1
篇
2021
4
篇
2022
5
篇
2023
2
篇
2024
2
篇
2025
2
篇
全部文章
18
篇
文章
18
分类
3
标签
30
功能
显示模式
Project
22/7 WiKi
首页
文库
全部文章
全部分类
全部标签
友链
关于
正在追番
正在追剧
我的装备
关于本站
标签
游记
4
Live
4
日本
4
css
1
美化
2
二分
1
node
1
dplayer
1
zerotier
1
内网穿透
1
爬虫
2
Python
5
22/7
2
22/7 WiKi
2
生活
1
Kruskal
1
最小生成树
1
算法
1
CSS
1
JS
1
魔改
1
PyTorch
1
ffmpeg
1
视频处理
1
AI
1
人脸检测
1
PHP
1
API
1
数据可视化
1
贪心
1
Project
22/7 WiKi
zBlog
zBlog
首页
文库
全部文章
全部分类
全部标签
友链
关于
正在追番
正在追剧
我的装备
关于本站
0
夢はいつでも
僕らの前にある
一个热爱生活的人
置顶
又去了一次日本(关西篇)
推荐
全部文章
生活
技术
算法
更多
生活
最新
未读
我在武道馆看见了星之鼓动
游记
Live
日本
2025-06-08
生活
未读
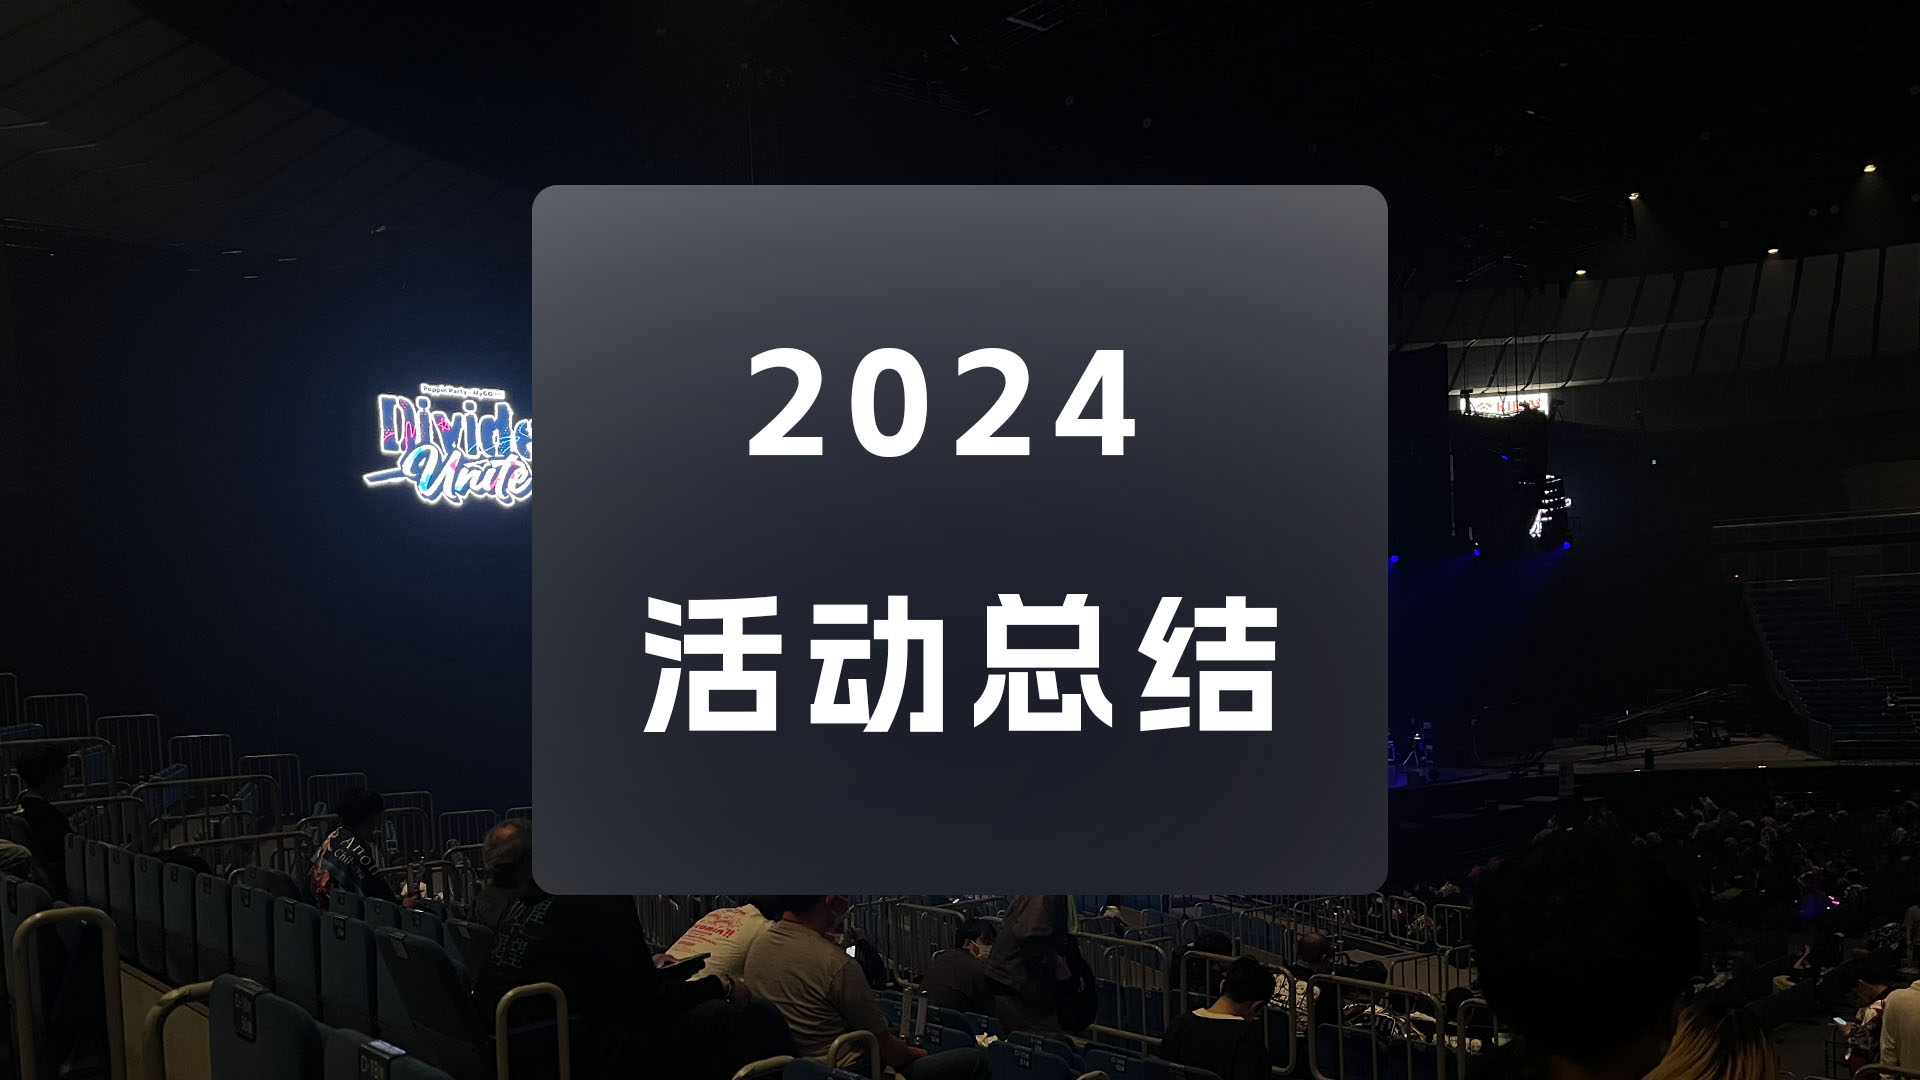
2024现地活动总结
游记
Live
日本
2025-02-21
生活
未读
又去了一次日本(关西篇)
游记
Live
日本
生活
2024-11-07
生活
未读
人生第一次跑现地live
游记
Live
日本
2024-05-10
技术
未读
使用Instaloader获取ins媒体资源
爬虫
Python
22/7
22/7 WiKi
2023-12-18
技术
未读
使用Python获取22/7成员博客
爬虫
Python
22/7
22/7 WiKi
2023-06-03
技术
未读
使用IQA-PyTorch库进行NIQE值计算
Python
PyTorch
2022-10-28
技术
未读
搭建Dplayer-node后端
node
dplayer
2022-05-27
技术
未读
搭建Zerotier-Planet服务器
zerotier
内网穿透
2022-04-29
技术
未读
浅用百度人脸检测SDK
AI
人脸检测
2022-04-13
1
2
下一页
Student at University of Wisconsin-Madison / ACGN Fan / Founder of @227WiKi / A.K.A FiberBell & 与田マスター
zzzhxxx
夢はいつでも,僕らの前にある。
游记
4
Live
4
日本
4
css
1
美化
2
二分
1
node
1
dplayer
1
zerotier
1
内网穿透
1
爬虫
2
Python
5
22/7
2
22/7 WiKi
2
生活
1
Kruskal
1
最小生成树
1
算法
1
CSS
1
JS
1
魔改
1
PyTorch
1
ffmpeg
1
视频处理
1
AI
1
人脸检测
1
PHP
1
API
1
数据可视化
1
贪心
1
查看全部
文章总数 :
18
建站天数 :
最后更新 :
复制选中文本
粘贴文本
引用到评论
新窗口打开
复制链接地址
复制此图片
下载此图片
站内搜索
随机文章
全部分类
全部标签
关闭热评
深色模式
轉為繁體
搜索
Live
技术